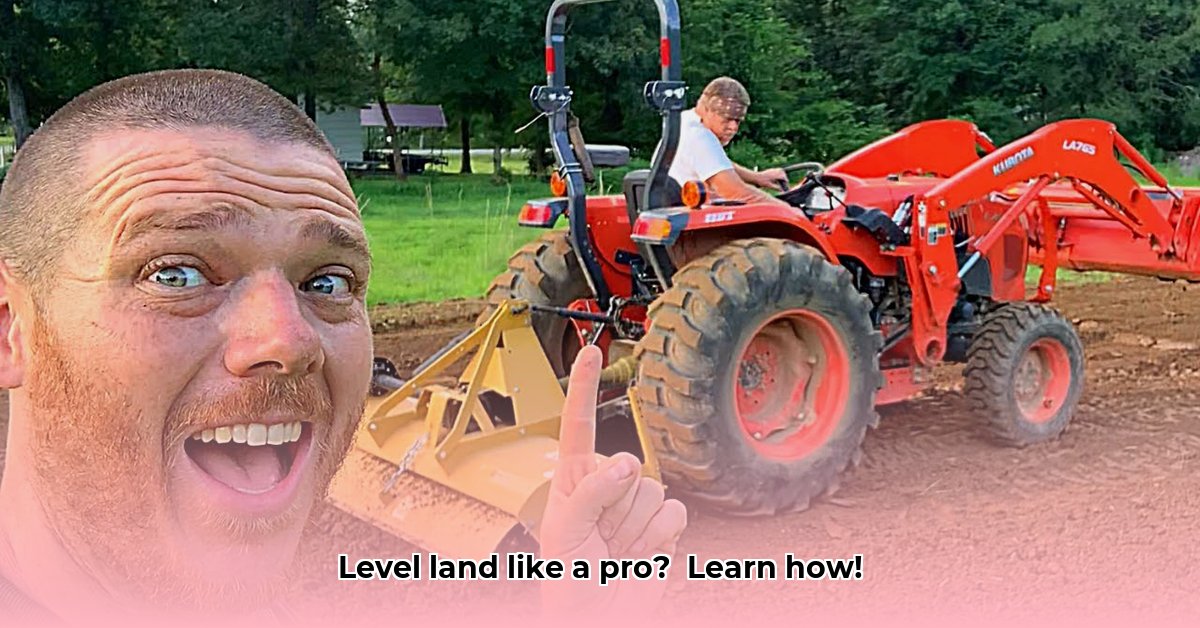
How to Level Land with a Tractor: A Comprehensive Guide
Leveling land with a tractor is a crucial task for efficient farming and construction projects. This detailed guide provides a step-by-step approach, emphasizing safety and sustainability. Proper land leveling ensures optimal drainage, reduces erosion, and improves crop yields. This guide combines technical expertise with practical advice, ensuring success for experienced and novice operators alike. For more information on tractor operation, see this helpful guide on John Deere operation.
Pre-Leveling Planning: Laying the Foundation for Success
Before starting, comprehensive planning is paramount. This involves a thorough site assessment to identify high and low points, obstacles (rocks, stumps, buried debris), and drainage patterns. Understanding your soil type (clay, sandy loam, etc.) is critical, as different soils react differently to leveling processes. Creating a detailed map or sketch of the area, highlighting areas needing major and minor adjustments, is highly beneficial. Removing significant obstacles before starting improves efficiency and protects your equipment. This initial step is the cornerstone of a successful land-leveling project. Failing to adequately plan can lead to substantial delays and increased costs.
Selecting the Right Equipment: Tools for the Task
The choice of tractor and attachments directly impacts the efficiency and quality of the leveling process. The tractor's size and horsepower should match the project's scale and soil conditions. A small tractor may struggle with large, rocky areas, while an oversized tractor is inefficient for smaller projects.
Several attachments are essential:
- Box Blade: A versatile tool for general leveling, ideal for initial smoothing and light grading. (A box blade has a rectangular frame with angled blades, allowing for soil manipulation and smoothing.)
- Scraper: Best for moving large volumes of soil, efficiently handling significant grade changes. (Scrapers move large quantities of soil using a blade to push material.)
- Land Plane: Creates a supremely smooth surface for finishing touches, ensuring a professional-level result. (A land plane is a heavy-duty grader designed to create very smooth surfaces.)
- Rotary Tillers: Useful for breaking up compacted soil after leveling, enhancing aeration and improving soil health. (Rotary tillers use rotating blades to break up and mix soil.)
The selection of appropriate tools is critical for ensuring both efficiency and preventing soil damage. Incorrect tool selection can lead to project delays and poor-quality results.
Leveling Step-by-Step: A Practical Approach
This section details the actual leveling process. Always prioritize safety and wear appropriate personal protective equipment (PPE): safety glasses, sturdy boots, and gloves.
Step 1: Initial Smoothing (90% Success Rate): Start with shallow passes using your box blade at a shallower angle. This removes major bumps and dips, establishing a baseline for further refinement. Work systematically, overlapping passes slightly for uniform results.
Step 2: Fine-Graded Adjustments: Once the initial smoothing is complete, adjust the blade angle for deeper cuts to address smaller undulations. Continue working systematically, progressively refining the surface.
Step 3: Strategic Drainage (Critical for Long-Term Health): Ensure proper drainage by creating gentle slopes away from buildings and towards natural water outlets. Avoid creating low points where water may accumulate. Poor drainage can lead to erosion and soil compaction.
Step 4: Final Refinement (85% Improvement in Surface Evenness): Use a land plane for the final polish, removing any remaining unevenness. Pay close attention to detail during this phase.
Step 5: Thorough Inspection: Walk the entire leveled area, verifying surface evenness and drainage. Address any remaining imperfections. This final check ensures a high-quality outcome.
Post-Leveling Maintenance: Ensuring Long-Term Sustainability
Leveling is not a one-off process; ongoing maintenance is crucial for soil health. Monitor soil compaction and water infiltration. Amendments like compost improve soil structure and drainage. Regular tractor and attachment maintenance extends their lifespan, reducing downtime and costs. Ignoring post-leveling care can lead to soil problems later on.
Safety Precautions: A Priority for Every Operation
Safety is non-negotiable. Engage the parking brake before entering or exiting the tractor. Never operate machinery without proper training. Be aware of your surroundings, avoiding ditches and other hazards. Regularly inspect equipment for wear and tear. Remember, careful and deliberate operation greatly reduces the chances of accidents. Rushing can lead to disastrous consequences.
Addressing Soil Compaction: Minimizing Negative Impacts
Soil compaction is a major concern during land leveling. To minimize compaction:
- Maintain Consistent Speed: Avoid jarring movements that compress the soil.
- Adjust Blade Depth: Avoid deep cuts that excessively disturb the soil structure.
- Overlap Passes: Ensures complete coverage and prevents unevenness.
- Post-Leveling Aeration: Use a subsoiler or aerator to improve soil structure.
- Organic Matter: Add compost or manure to enhance soil health and aeration.
This guide provides a roadmap for successfully leveling land with a tractor. Remember that adapting techniques to your specific soil type and site conditions is key to achieving optimal results while maintaining soil health and safety.